Game Controller
Setting up your items to control them with a game controller is quick and easy.
Setting up your items to control them with a game controller is quick and easy.

Find help for connecting your game controller to your IOS device here:
First check if the game controller has been recognized.
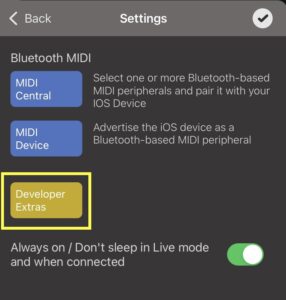
Go to the settings in the main menu and tap on “Developer Extras”.
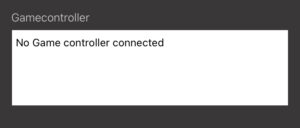
“No game controller connected” appears in the game controller field if no controller was detected.
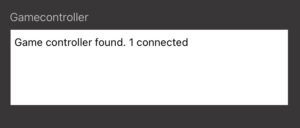
“Game controller found” appears in the field if a game controller has been detected,
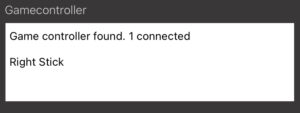
Tap a button on the game controller and the name of the button will appear in the field.
Operate one of the other functions on the controller, such as the joystick and the corresponding name appears.
Note that only one function name is displayed at a time.
Add one of these events from the local interface.
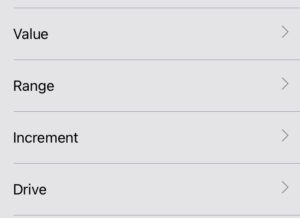
Select the game controller icon to the right of the path field.

Select a game controller function from the list.
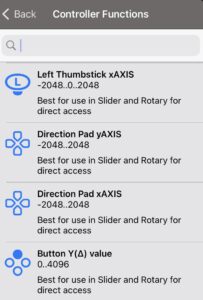
You can filter the list using a function on the game controller.
For example, move the right joystick to see all functions for it.
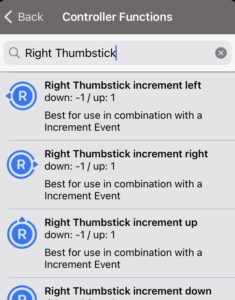
After selecting a function from the list, the fields of the event get default values.
The Path field displays the selected game controller function as a path.
This is useful if you want to use swaps.
The values are retained in the fields if you select the same function that was previously selected.
To get the default values, switch once to another function and back.
Of course, you can also enter the values yourself.
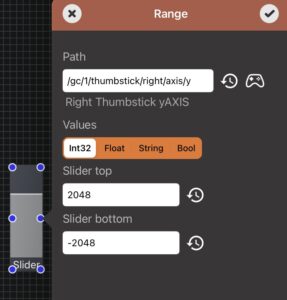

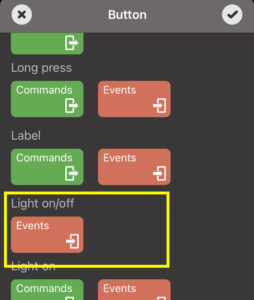
Create a new button on your panel.
Edit the button and add a “Range” event to the light on/off action.
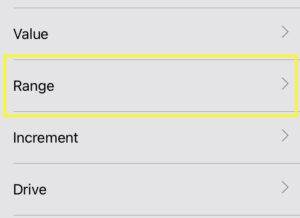
Select the game controller icon to the right of the path field.

Press a button on your game controller to filter the functions list.
Then choose “Button pressed” from the list.
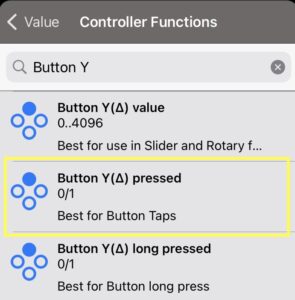
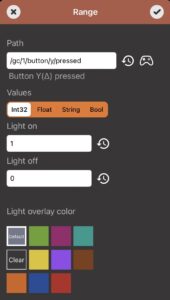
The range values are set with the default values from the “Button pressed” function.
“Light on” responds to the value “1” when a button is pressed.
“Light off” responds to the value “0” when the button is released.
All values are of type “Int32”.
Complete the editing using the check mark in the top right.
Start live mode.
The button in DeviceJockey will light up if you press the button on your game controller now.

Create a new slider on your panel.
Edit the slider and add a “Range” event to the slider action.
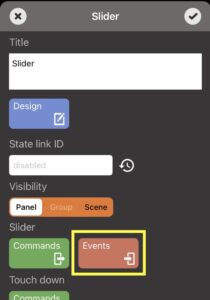

Select the game controller icon to the right of the path field.

Use the right thumbstick on your game controller to filter the functions list.
Then choose “Right Thumbstick yAXIS” from the list.
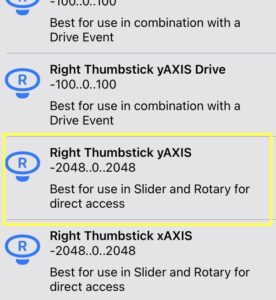
The range values are set with the default values from the “Right Thumbstick yAXIS” function.
“Slider top” responds to the value “2048” when the game controller thumbstick has been pushed all the way up.
“Slider bottom” responds to the value “-2048” when the game controller thumbstick has been pushed all the way down.
All values are of type “Int32”.
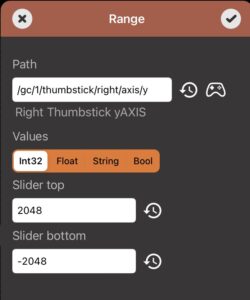
Complete the editing using the check mark in the top right.
Start live mode.
The slider in DeviceJockey will now follow the Y-axis of your right thumbstick.
Use the game controller thumbstick as incremental encoder for a slider.

Create a new slider on your panel.
Edit the slider and add an “Increment” event to the slider action.

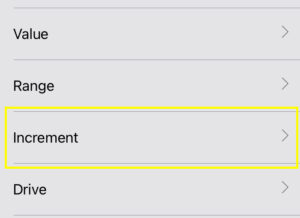
Select the game controller icon to the right of the path field.

Use the right thumbstick on your game controller to filter the functions list.
Then choose “Right Thumbstick increment right” from the list.
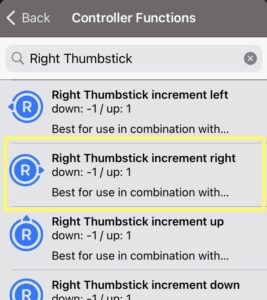
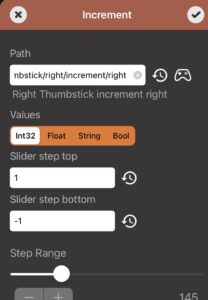
The range values are set with the default values from the “Right Thumbstick increment right” function.
“Slider step top” responds to the value “1” when the game controller thumbstick is rotatet clockwise.
“Slider step bottom” responds to the value “-1” when the game controller thumbstick is rotatet counterclockwise.
All values are of type “Int32”.
Complete the editing using the check mark in the top right.
Start live mode.
The right thumbstick now works as an incremental encoder for your slider.
To activate the function pull the right thumbstick all the way to the right.
Then rotate the tumbstick clockwise or counterclockwise.
The slilder follows your rotations and its value goes up and down.
Use the game controller thumstick and move a slider as if it’s controlled by a drive.

Create a new slider on your panel.
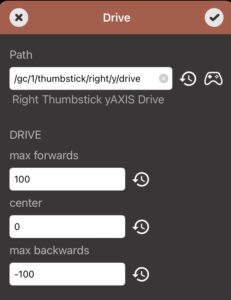
Edit the slider and add an “Drive” event to the slider action.

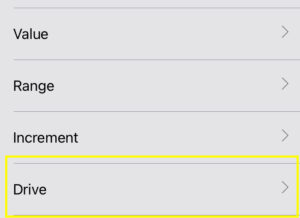
Select the game controller icon to the right of the path field.

Use the right thumbstick on your game controller to filter the functions list.
Then choose “Right Thumbstick yAXIS Drive” from the list.
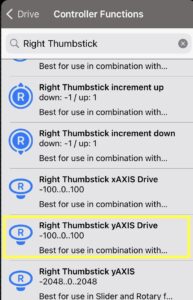
The range values are set with the default values from the “Right Thumbstick yAXIS Drive” function.
“max forwards” responds to the value “100” when the game controller thumbstick is moved all the way up.
“center” responds to the value “0” when the game controller thumbstick is in center position.
“max backwards” responds to the value “-100” when the game controller thumbstick is moved all the way down.
All values are of type “Int32”.
Complete the editing using the check mark in the top right.
Start live mode.
When you move the thumbstick up, the slider moves up.
The further you push the thumbstick up, the faster the slider moves.
The slider stops, when you release the thumbstick and bring it back to center.
When you move the thumbstick down, the slider moves down.
The further you push the thumbstick down, the faster the slider moves.