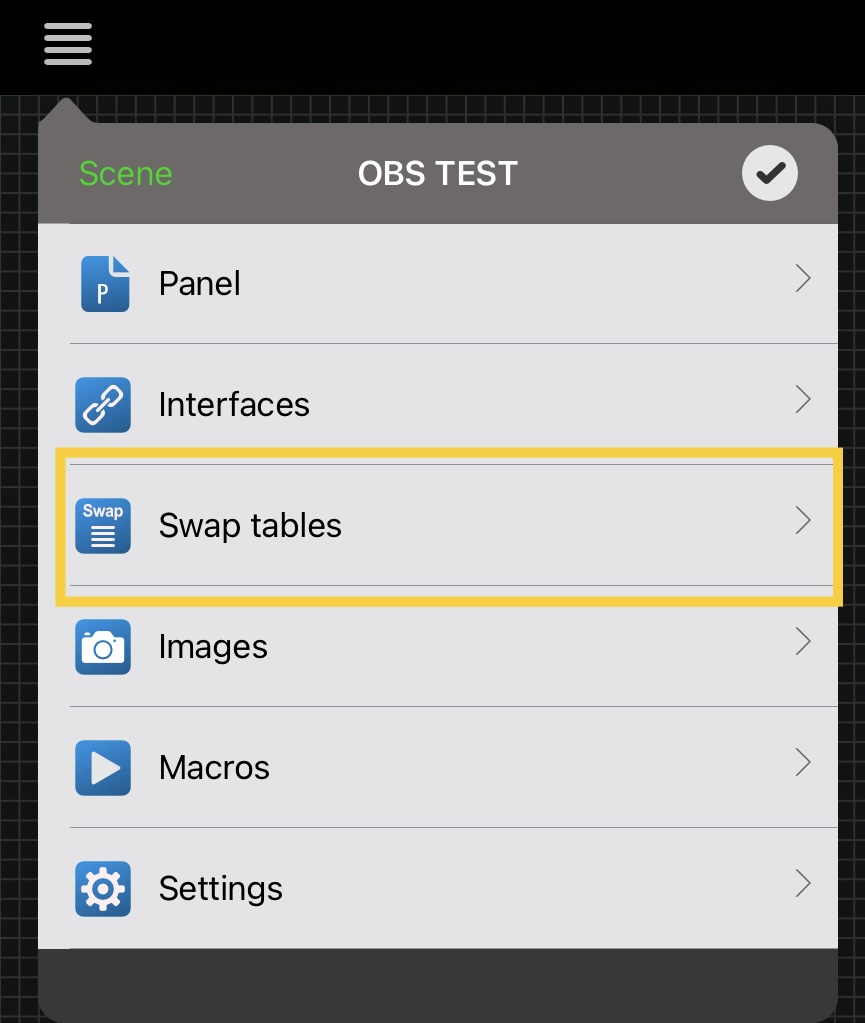
The command contains one scene name.
sceneName: "Scene 1"
Changing the target means opening and editing the command itself.
DeviceJockey Guide
Replace fixed text with named values that can change while your setup is running.
Dynamic runtime values
A Swap is a named value. You can insert its name into supported titles, commands, events, paths, payloads, and Scripts. DeviceJockey replaces the placeholder with the Swap’s current value when the property is evaluated.
This is useful whenever several controls should use the same value or when that value needs to change during Live Mode.
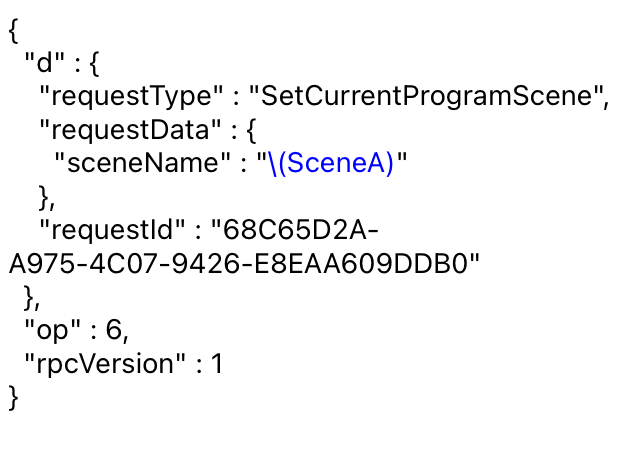
SceneA = Scene 1.\(SceneA) that is replaced with the current value.Commands and events use individual Swaps. The SwapTable only keeps related Swaps together so they are easier to find and maintain.
Example
Changing the target means opening and editing the command itself.
If SceneA contains Scene 2, the same command selects Scene 2.
Only the value stored in SceneA changes. Every supported place using \(SceneA) receives the new value.
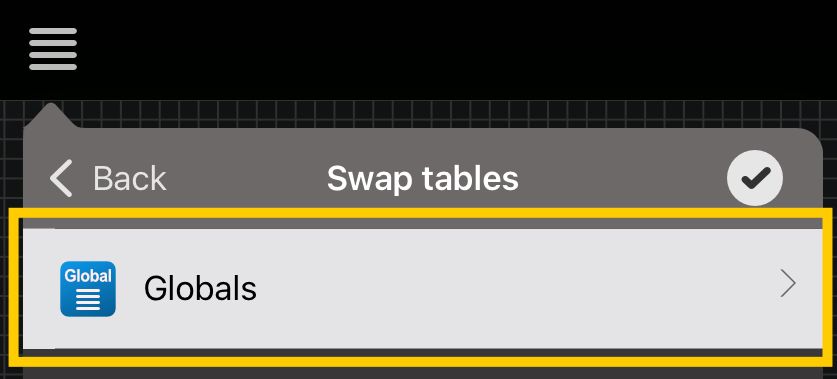
Create a Swap
Open the main menu and choose Swap tables, then open Globals.
Create a table with a clear purpose, such as OBS Scenes, Cameras, or Destinations.
Enter a unique Swap name and its initial value.
Insert the Swap into a supported field and test the resolved value in Live Mode.
The app loads the global SwapTables stored with the active scene. Use consistent names when different scenes should provide equivalent values.
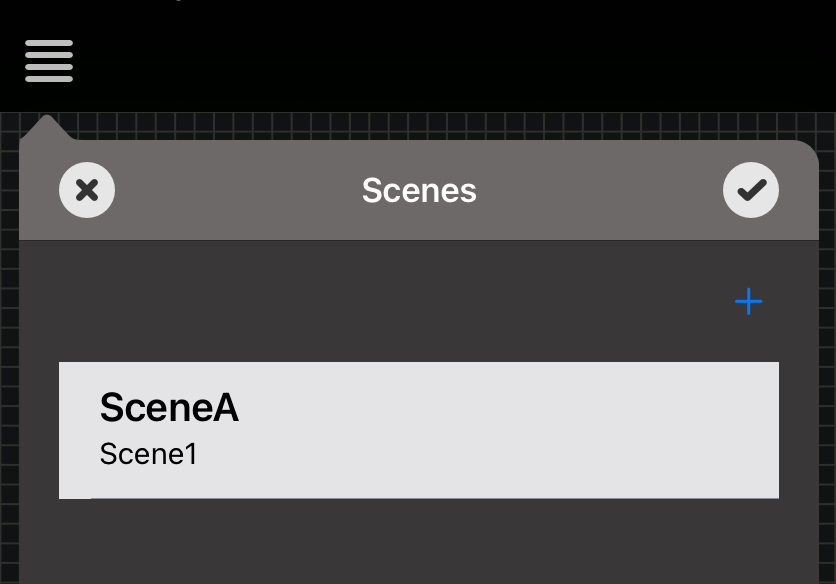
SceneA stores the value Scene1.Syntax
\( ).\(SceneA)The placeholder starts with a backslash and an opening parenthesis, followed by the exact Swap name and a closing parenthesis. In supported editors, a recognized Swap expression is highlighted.
Current scene: \(SceneA) combines normal text with the current Swap value.
\(SceneA) lets the Swap provide the entire title, path, payload value, or supported parameter.
A Swap value may contain another Swap expression. DeviceJockey can resolve the referenced value where replacement is supported.
When a setting asks you to select or name the Swap itself, enter SceneA without \( ).
\(SceneA) placeholder.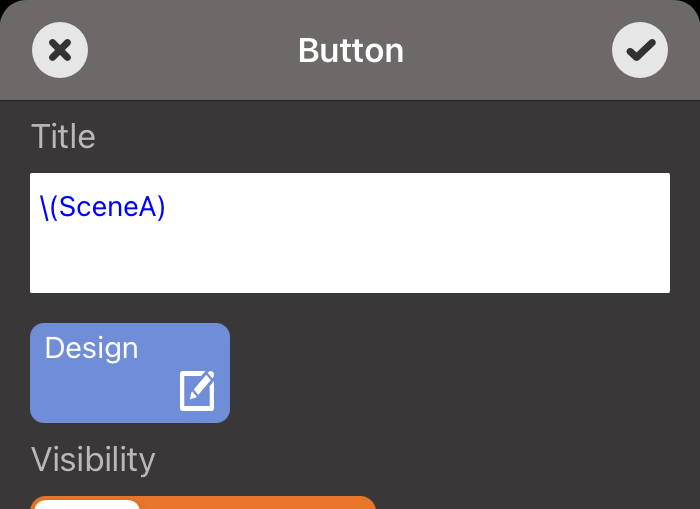
Change values from a panel
Write a fixed value, use the item title, or open an input window in Live Mode. The current Swap value is shown as the starting input.
Map the position of a slider or another continuous item between a configured minimum and maximum and store the result.
Compare the current value with a configured value and send the Boolean result to a Local response path.
When enabled, items that depend on the changed Swap check their status again. Disable it only when an immediate panel refresh is intentionally unwanted.
Events
Swap events compare a selected Swap with a configured value. Depending on the item and event property, the result can update a light, toggle or radio-button state, protection, a default position, or trigger a tap, long press, or touch action.
Light the button whose configured value matches the current Swap.
Switch a supported toggle or radio button on when the comparison is true.
Protect an item or trigger a supported touch action from the comparison result.
DeviceJockey presents only the Swap event variants supported by the selected item and property.
Swaps and Scripts
\(mySwap)Use this form in supported titles, command fields, event fields, addresses, and payloads.
console.log(mySwap)
mySwap = "New value"
Scripts expose valid Swap names as variables. Built-in function and status names are reserved.
Do not confuse them
A Swap stores a named value that commands, events, titles, paths, payloads, and Scripts can use while the scene runs.
Shared Values collect related settings from selected items, commands, and events so they can be edited together.
Open the Shared Values guide →Troubleshooting
Use exactly \(SwapName), including the backslash and both parentheses.
Names must match exactly. Confirm that the Swap exists in a SwapTable of the active scene.
Not every text field supports replacement. A recognized Swap is highlighted in supported editors.
Enter the plain name when a command asks which Swap to change. Use placeholder syntax when its value should be inserted.
Do not use names reserved for Script functions, MIDI values, received values, or item status variables.
Enable Panel Check Status when dependent lights, labels, protection, or item states should update immediately.
If one Swap contains another placeholder, confirm that both names exist and that the consuming context resolves nested replacement.