OBS Studio Commands
Control OBS Studio with commands from your DeviceJockey.
Control OBS Studio with commands from your DeviceJockey.
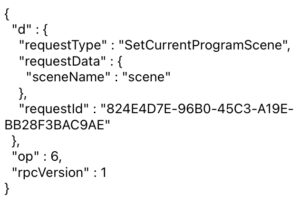
{
  "d": {
    "requestData": {
      "sceneName": "Scene1"
    },
    "requestType": "SetCurrentProgramScene",
    "requestId": "F718DA2E-0BA3-4271-B05D-983C0BB5709B"
  },
  "op": 6,
  "rpcVersion": 1
}
{
  "d": {
    "requestType": "GetCurrentProgramScene",
    "requestId": "F718DA2E-0BA3-4271-B05D-983C0BB5709B"
  },
  "op": 6,
  "rpcVersion": 1
}
The request type, such as “GetCurrentProgramScene” to request the current scene in OBS Studio or “SetCurrentProgramScene” to request a scene change in OBS Studio.
Additional data like “sceneName” to define the scene OBS Studio has to change to.
Identifies the request (used for internal purpose).
OBS Websocket version code (used for internal purpose).
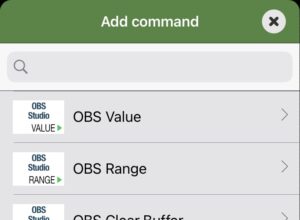
Add OBS Value or OBS Range commands to your items in DeviceJockey to control OBS Studio.
The JSON field has a key role.
It is used define the commend that will be sent to OBS Studio.
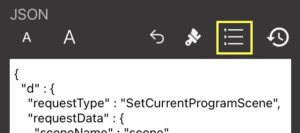
You can create your JSON from scratch or tap the template button and use predefined commands.
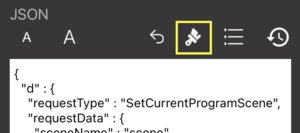
Use the brush to reformat your JSON.
Use undo to restore changes you have made.
Tap the history to use JSON text you have entered before.
Press the history long to get a list off all entries in the history.
Use this command to clear the event buffer.
The buffer stores the last twenty received events from OBS Studio and is used when creating OBS events.

This command requests one of these possible sources from OBS Studio
You can select an entry and set it in a swap as value.


Create a new button on your panel.
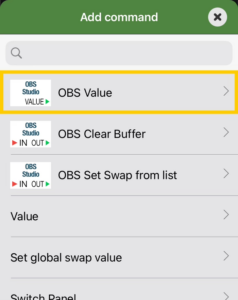
Then edit the button and add an “OBS Value” command to the tap action.
Select the button for the templates.
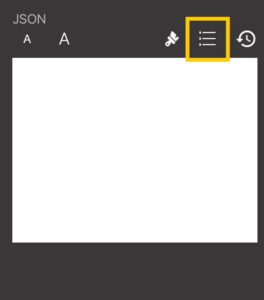
Select “Set current program scene” from the list.
To make it easier to find the entry, you can also enter “Scene” in the search bar at the top.
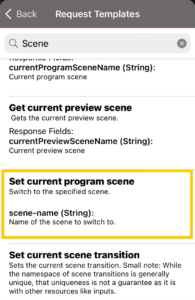
After you have selected the entry, the request that is sent to OBS to change a scene appears in the JSON.
Look for the “sceneName” attribute in the JSON and change its value from “scene” to the name of the scene you want OBS to switch to.
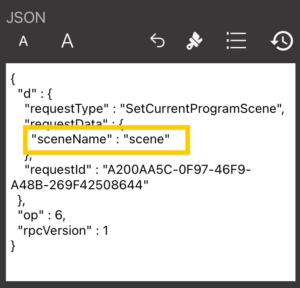
Complete the editing using the check mark in the top right.
You should see your newly created entry in the list of tapped commands.
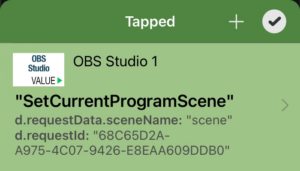
Close all editing windows.
If you press the button now, OBS will switch to your desired scene.

Create a new toggle on your panel.
Then edit the toggle and add an “OBS Range” command to the toggle action.
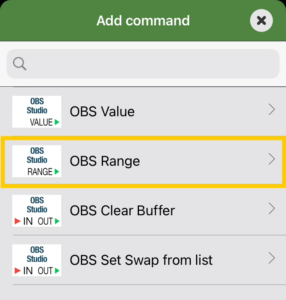
Select the button for the templates.

Select “Set mute” from the list.
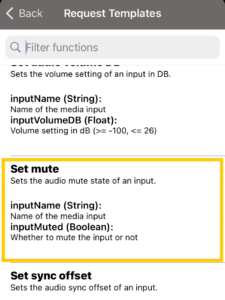
After you have selected the entry, the request that is sent to OBS to mute an audio source appears in the JSON.
Look for the “inputName” attribute in the JSON and change its value from “video” to the name of the audio source that OBS should mute.
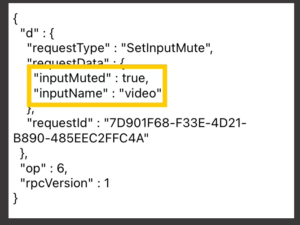
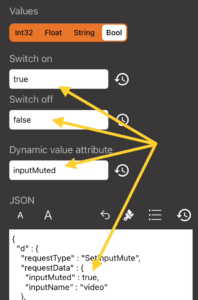
In addition to the JSON, the template filled out three other fields.
“Dynamic value attribute” gets the name of the attribute whose value should change in the JSON when the toggle is turned on or off.
The “Switch on” field receives the value for the toggle being switched on.
The “Switch off” field contains the value for switched off toggle.
With these settings, the “inputMuted” attribute is dynamically set with the values ”true” for audio source on and “false” for audio source muted, depending on whether the toggle is turned on or off.
Complete the editing using the check mark in the top right.
You should see your newly created entry in the list of switch toggle state commands.
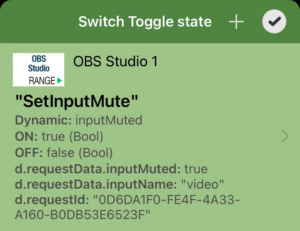
Close all editing windows.
Use your toggle to switch the audio source on and off.
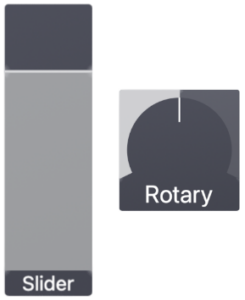
Create a new slider or rotary on your panel.
Then edit the item and add an “OBS Range” command to the slider/rotary action.

Select the button for the templates.

Select “Set audio volume db” from the list.
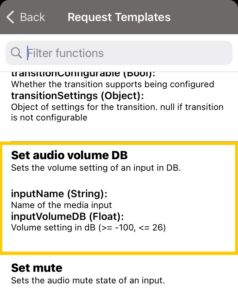
After you have selected the entry, the request that is sent to OBS to set the volume of an audio source appears in the JSON.
Look for the “inputName” attribute in the JSON and change its value from “video” to the name of the audio source whose volume you want OBS to change.
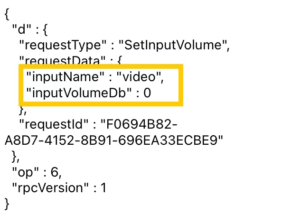
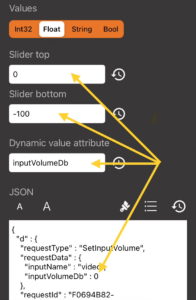
In addition to the JSON, the template filled out three other fields.
“Dynamic value attribute” gets the name of the attribute whose value should change in the JSON when the slider is changed.
The “Slider top” field receives the value for the slider is being at the top.
The “Slider bottom” field contains the value for the slider is being at the bottom.
With these settings, the “inputVolumeDb” attribute is dynamically set with the values between 0 and -100, depending on where the slider is set.
Complete the editing using the check mark in the top right.
You should see your newly created entry in the list of slider changed commands.
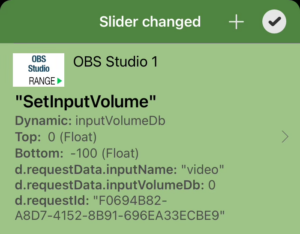
Close all editing windows.
Use your slider or rotary to switch the volume of the audio source.