
Connect through MIDI, OSC, MQTT, or another universal protocol.
Browse protocols →First project · About 5 minutes
Build your first control surface.
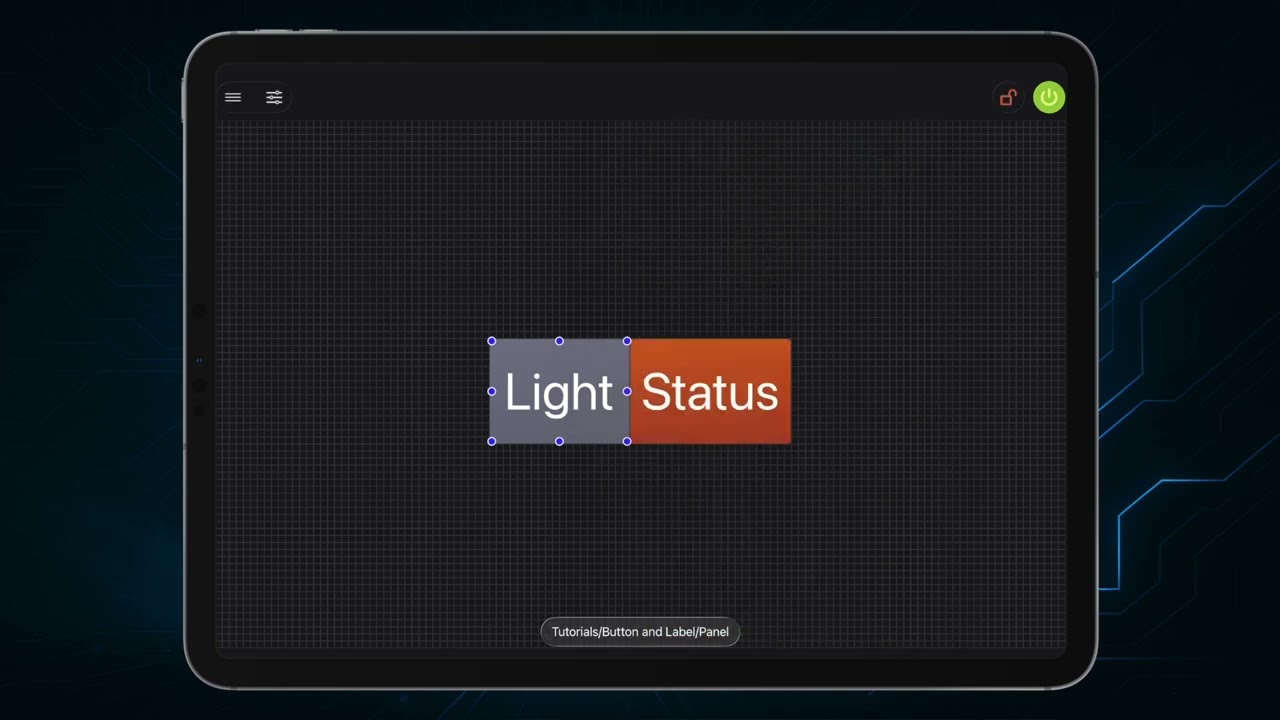
Create a Button and a Label, then make the Label light up while you press the Button.
The result
Your first interaction stays inside DeviceJockey.
The Button sends a command through the Local Interface. The resulting event changes the light state of the Label on the same panel.
No connection setup is required.
The Local Interface works inside DeviceJockey, without another application or external hardware.
What you will buildA Button that makes a Label light up.
- Button
- Command →
- Local Interface
- ← Event
- Label
Watch the complete guide
1
Prepare your workspace.
- Create a new Scene and select it.
- Set the Panel to edit mode.
2
Add a Button and a Label.
- Touch and hold an empty position on the Panel in iOS, or right-click it on a Mac.
- Choose “New,” then select Button to create the Item.
- Tap the new Button again in iOS, or right-click it on a Mac, then choose “Edit.”
- Open “Design” to change the Button’s title and appearance.
- Add a Label beside the Button, then edit its title and appearance in the same way.
3
Set Commands for the Button.
- Edit the Button.
- Under the “Touch down” action, add a Command, then select the Local Interface Command “Value” from the list.
- Set the Path to
/lightand the Int32 Value to1. This will light up the Label later. - Under the “Touch up” action, add another Command, then select the Local Interface Command “Value” from the list.
- Set the Path to
/lightagain. You can use the History button to repeat the Path. Set the Int32 Value to0. This will switch off the Label light later.
4
Set Events for the Label.
- Edit the Label.
- Under the “Light on” action, add an Event, then select the Local Interface Event “Value” from the list.
- Set the Path to
/light. You can use the History button to repeat the Path from the Button Command. Set the Int32 Value to1. The Event now lights up the Label when the Button is pressed. - Under the “Light off” action, add another Event, then select the Local Interface Event “Value” from the list.
- Set the Path to
/lightagain and the Int32 Value to0. The Event now switches off the Label light when the Button is released.
5
Test the interaction in Live Mode.
- Enter Live Mode.
- Press and hold the Button. The Label should light up immediately.
- Release the Button. The Label should return to its normal state.
6
Conclusion.
You have created the basic DeviceJockey pattern: an Item action executes a Command through an Interface and another Item receives the resulting Event through an Interface and changes its state.
The same pattern applies when an Interface connects DeviceJockey to external devices or software: Commands control the external environment, while Events from that environment update the Items in DeviceJockey.
Continue building
Use the guide for your own system.
Find setup information for OBS, Logic Pro, Grass Valley, and other integrations.
Browse integrations →Find help with feedback, values, automation, and other DeviceJockey procedures.
Browse techniques →